
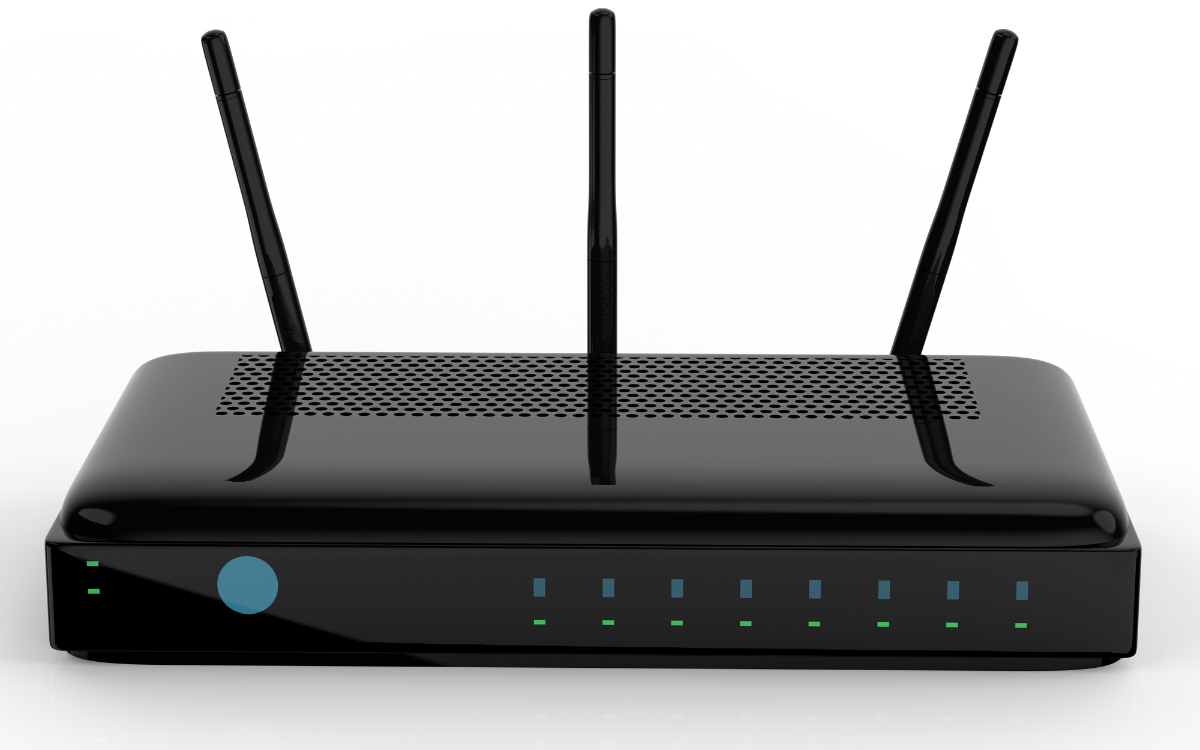
A TP link router is an integral part of any place which relies on wireless internet to perform day-to-day activities.
If put in simpler words, is the latest type of router that can provide you with wireless internet access through multiple devices at the same time in the comfort of your home. A TP router sports a dual-band router with an Ethernet port, which means it can be used with your cable internet connection and across multiple wireless devices.
Different Ways To Configure A TP Link Router
There are 5 ways to configure a TP router and adjust the settings. These are:
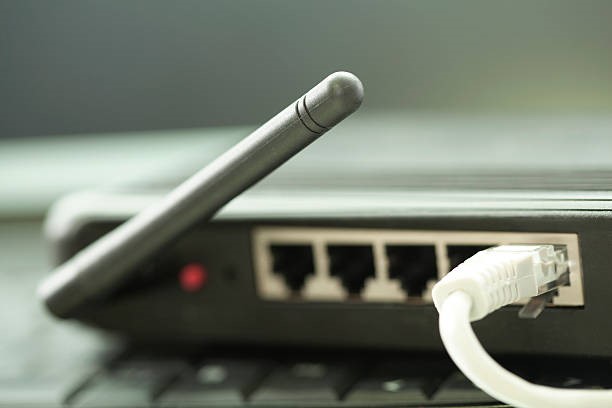
- We begin by setting up the router. First, power up the modem. Then connect the internet cable from the service provider to the WAN or Internet port on the back of the router if it has a built-in modem. And if the router has a separate modem, then connect the cable to an available LAN port and connect the other end of it to the WAN port at the back of the router. Now plug in the modem. Reinsert and plug the battery pack to power up the modem if you have a separate modem. Now connect the PC to the router. Another ethernet cable is required in this process to connect to any available LAN port and at the end connect to the available port on your pc.
- Configuring Quick Step. Firstly, open a web browser then enter the default address listed at the bottom of the router or the user manual. Next, create an admin password and click “LET’S GET STARTED”. If you have a dual-band router, you will need to come up with a separate network name (SSID) for both the 2.4 GHz band and the 5 GHz bands.
You can also hide your network name if you don’t want it to appear on people’s devices by clicking the checkbox next to “Hide SSID.” remember the network name should be unique but the password can be the same for both.
Now select the Quick Setup tab which takes you through the process of setting up the router. As easy as that was your next step is to select a timezone and proceed to select your connection type. You can select “Dynamic IP,” “Static IP,” “PPPoE,” “L2TP,” “PPTP” or Auto Detect if you are not sure. With that process ending you will need to enter your IP Address and/or MAC information.
Enter a network name (SSID) and password, review the information, and click Save. Congratulations, you can now connect your devices and enjoy the internet. - The next way is configuring a basic setup. Follow the same steps as mentioned above till creating a new admin password and how it can be used for different features. Then click Basic mentioned in the second tap at the top of the screen which allows your router to configure using basic steps with less information. And then go wireless.
Then click the checkbox to enable the network bands. You can enable both the 2.4 GHz and 5 GHz network bands at the same time. With that done, enter the network name and password for the networks. Now click Save and reconnect to the internet. And in the end, update your router’s firmware.
- Configuring parental control. Repeat the steps till click the Basic aforementioned. Now click Parental control and the Add+ icon. Enter a name for the profile and select a device to apply the parental controls. Click next and enter a keyword and block content from websites that contain that keyword (can also be a website or app).
Click next and set a daily time limit for how long the device can stay online. You can also set a bedtime limit in the next step. Click Save and you are good to go. - The 5th way is configuring port forwarding. Skip till entering an admin password part. Click Advanced and note the public and private IP addresses. Open the DHCP Server page under the Network menu and note the IP and MAC address for the devices you want to port forward mentioned down to the DHCP Client List.
Next, Click ADD+ to enter an address reservation for the device. Enter the address and click save. Now open the Servers Virtual page mentioned under NAT Forwarding. Click ADD+ again and select the service type (Services include HTTP, FTP, DNS, Gopher, NNTP, etc.) Enter the device’s IP address and click save. - Now, remember if you want to share your Wi-fi with guests in any of the configurations without giving them the passwords you could do so via tplinkwifi.net. Then go to “Advanced” and choose “Wireless”. After that, you need to choose “Guest Network”. You can now choose which frequencies you want to share with your guests and then choose a password for your guest network, and with that, you have an extra secured network for your guests.
Why Choose Zoomline Networks?
Zoomline Network is qualified to manage all your specific needs. When you choose us, you have the added benefits of the industry’s leading expertise, excellent customer support, and first-class service.
We have witnessed demanding industries evolving every day and have actively participated in milestone events that were once believed to be tomorrow’s science fiction, but are today’s reality. Together, we have been successful in bringing products to the Middle East and African regions that one never knew existed. So, let’s hold our hands together and enable businesses to be on par with up-to-date technology.
Contact us: +971 4 325 7866, +971 55 3786444 and +971 4 325 7867
Email address: sales@zoomlinenetwork.com
- All Post
- APC UPS
- Aten KVM
- CCTV Cameras
- Copper Cable
- Corning
- D-link
- D-link Router
- Eaton UPS
- Excel Cable
- Fiber Optic Patch Cord
- Fiber Optic Splitter
- Fortinet
- FTTH Cabinets
- Hp Switch
- IP PBX System
- Media Converter
- Molex
- Network Cabinet
- Nexans
- Others
- panduit
- Panduit Cable
- Power Distribution Unit
- Product News
- Schneider
- Server Cabinet
- Server Rack
- Splicing Machine
- Structured Cabling
- Technology
- Tp-link
- Tp-link Router
- Ubiquiti
- Ubiquiti Router
- Yeastar